2012.13.1.53.50
·
Item
·
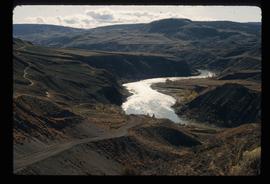
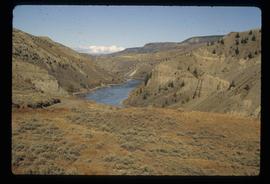
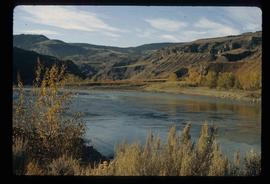
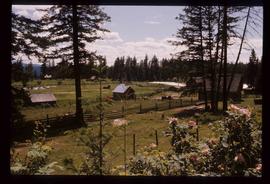
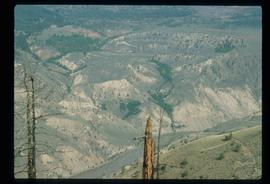
July 1982
Part of J. Kent Sedgwick fonds
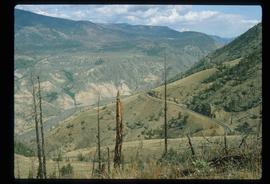
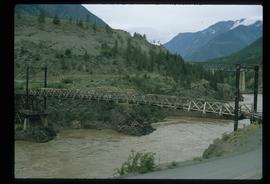
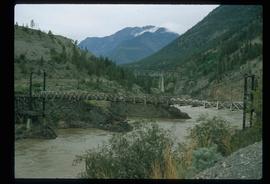
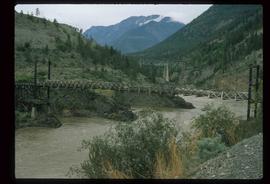
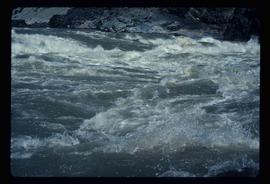
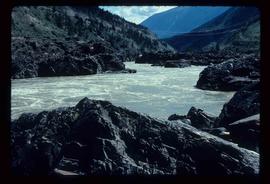
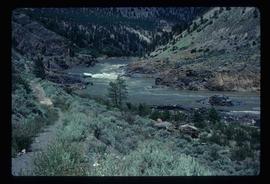
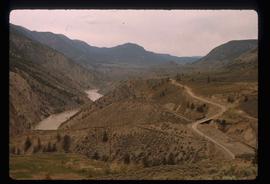
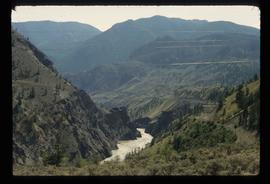
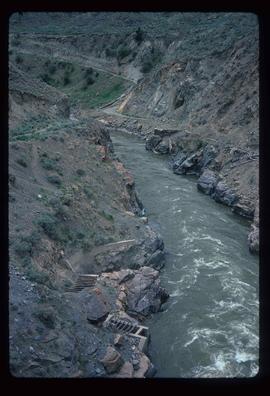
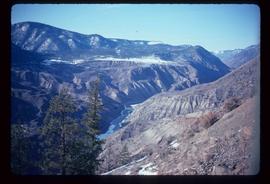
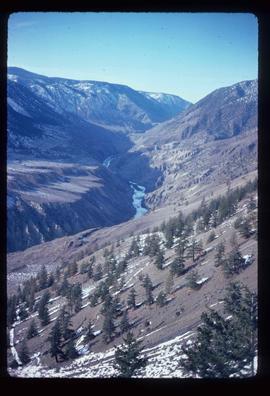
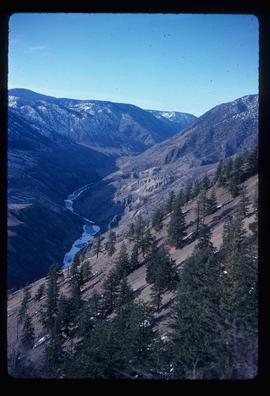
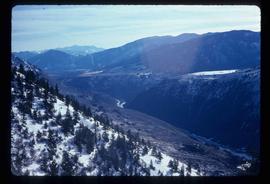
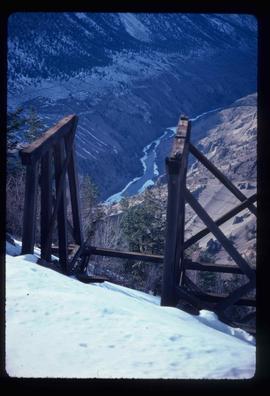
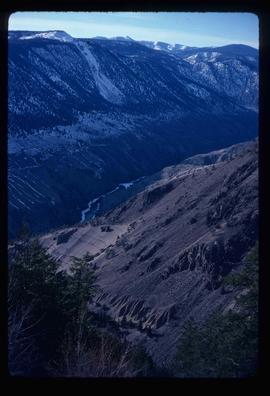
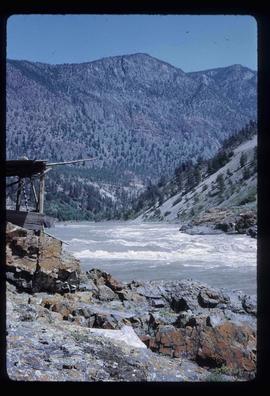
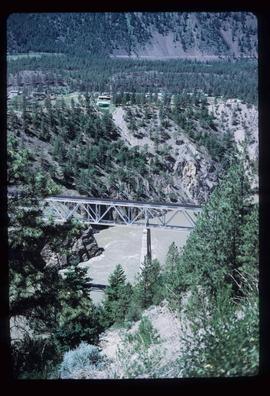
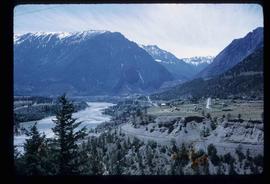
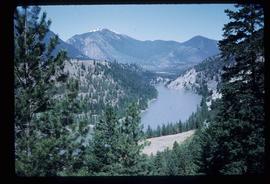
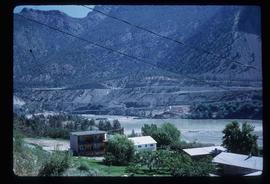
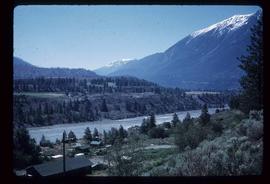
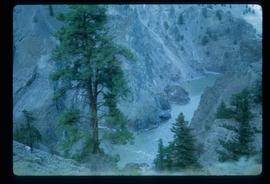
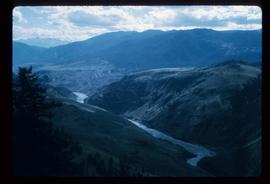
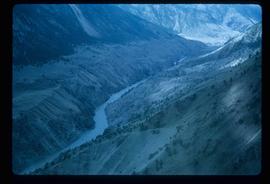
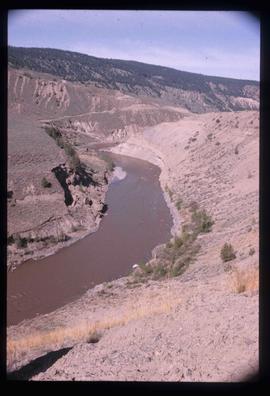
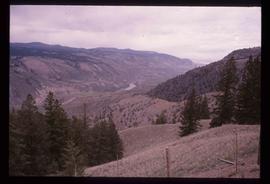
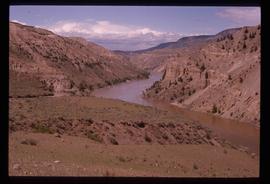
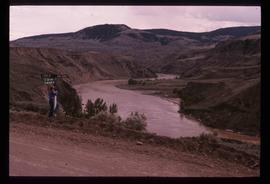
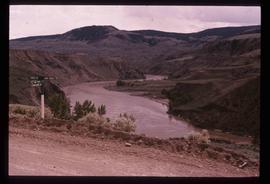
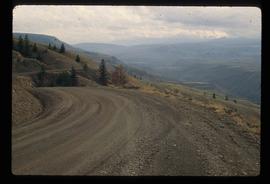
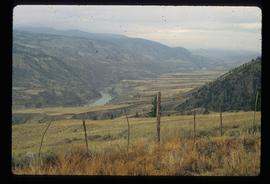
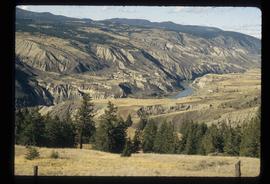
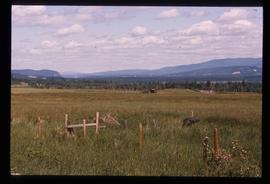
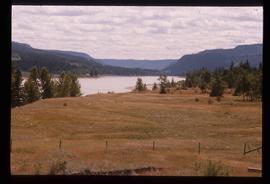
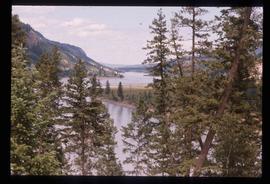
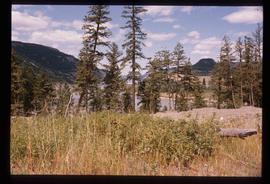
Image depicts the Moran Canyon; the Fraser River is visible near the bottom.