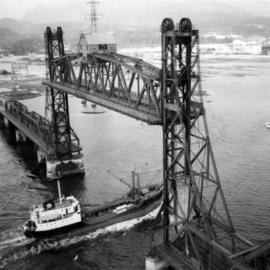
2013.6.35.22
·
Item
·
[ca. 1998]
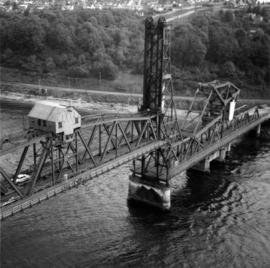
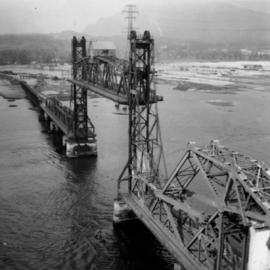
Parte de David Davies Railway Collection
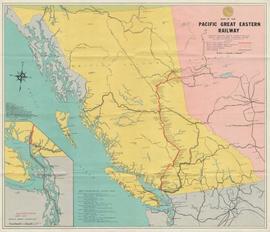
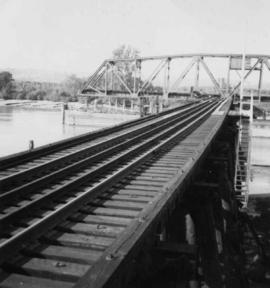
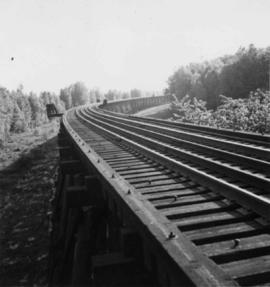
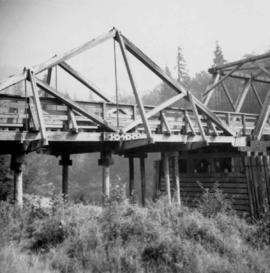
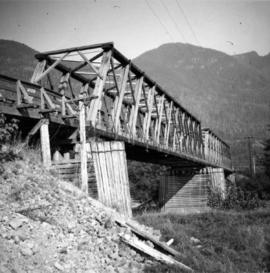
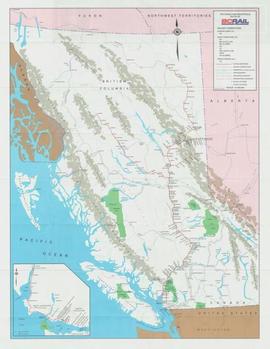
Map depicts the route of BC Rail and its connecting rail lines.