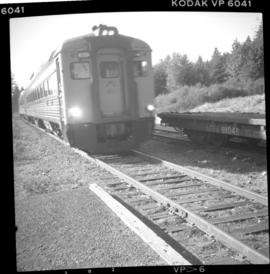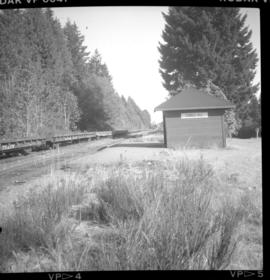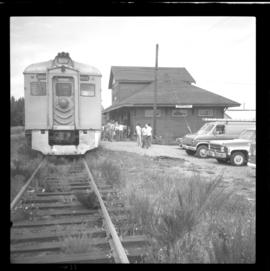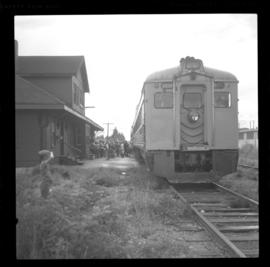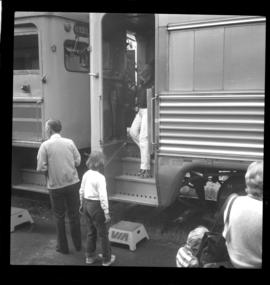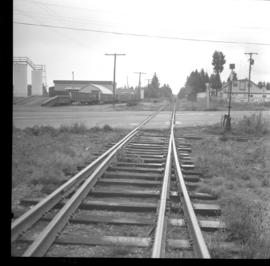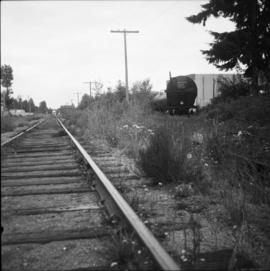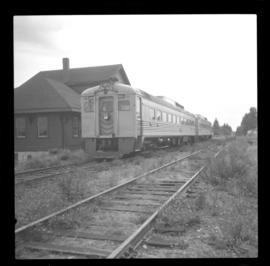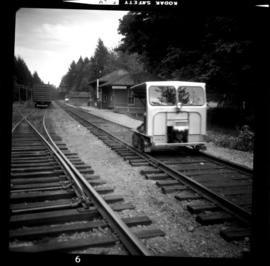
2013.6.36.1.034.11
·
Item
·
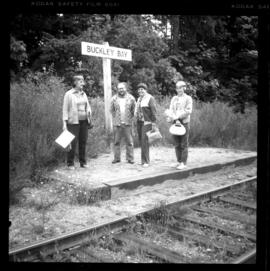
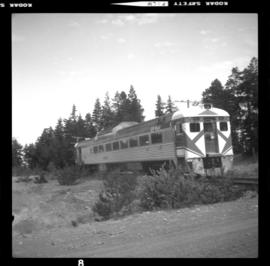
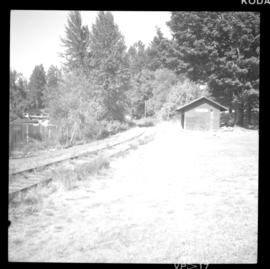
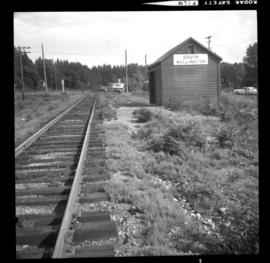
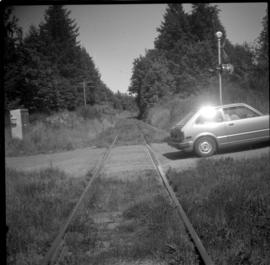
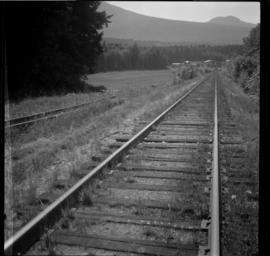
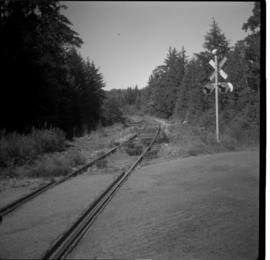
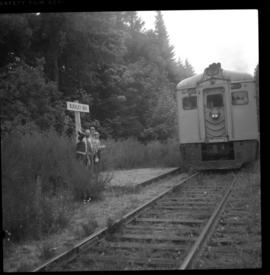
[21 July 1982]
Part of David Davies Railway Collection
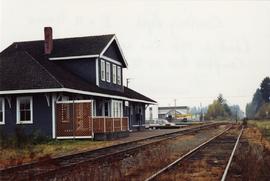
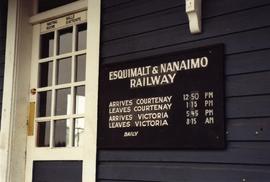
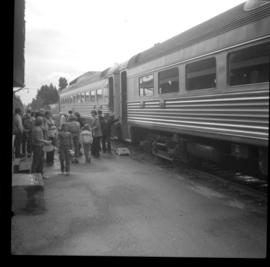
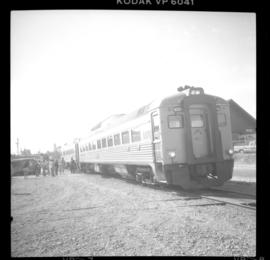
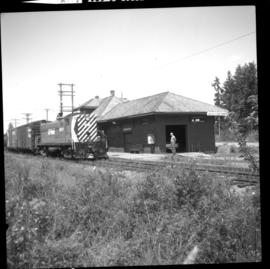
Photograph depicts the Buckley Bay halt or flag stop on approximately mile 126. VIA Rail daily train was departing south. This flag stop was located between Dunsmuir and Victoria.