2013.6.36.1.045.53
·
Item
·
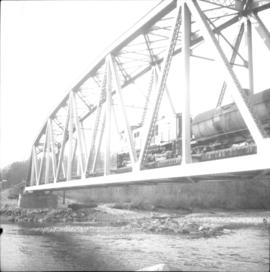
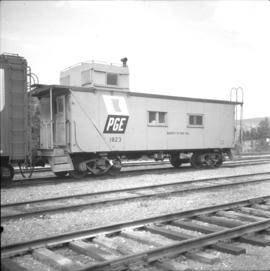
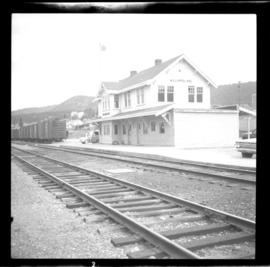
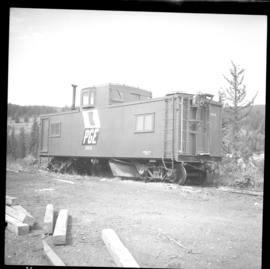
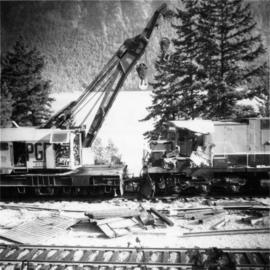
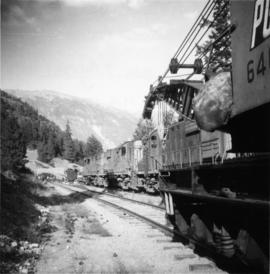
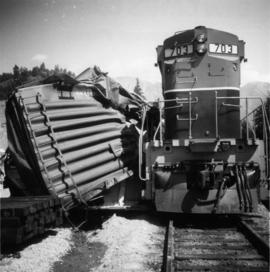
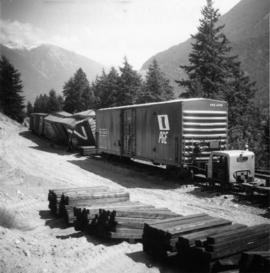
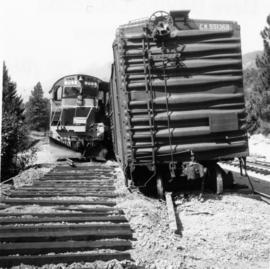
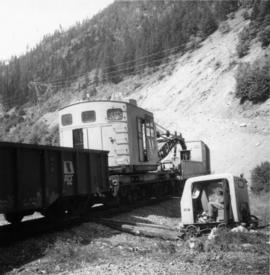
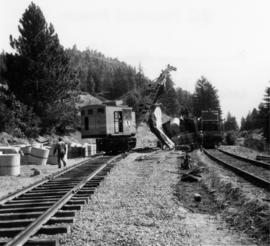
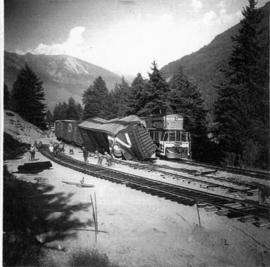
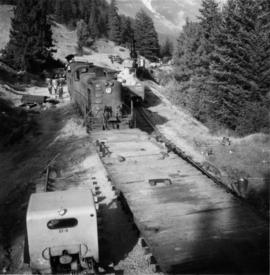
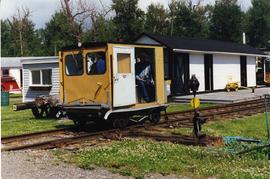
Aug. 1969
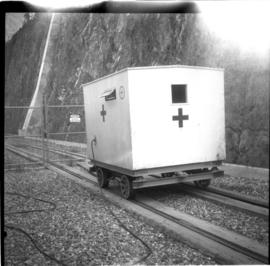
Part of David Davies Railway Collection
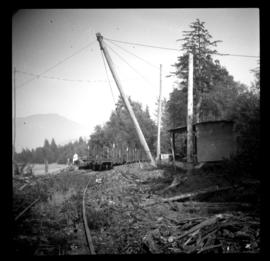
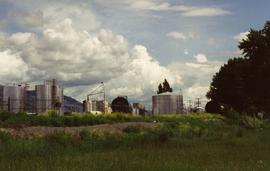
Photograph depicts the Bridge River Hydro Power Station on the edge of Seton Lake. A BC Hydro First Aid trolley with a heater connection was plugged in. The train was the fastest method to get an injured person to Lillooet from Shalalth as it was about 16 miles by rail in comparison to 50 miles by uneven dirt road. Ordinary PGE trollies were used by injured civilians between D'Arcy and Lillooet as it was the quickest method of evacuation.