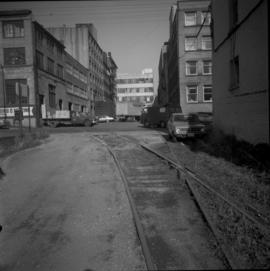
2013.6.36.1.051.30
·
Item
·
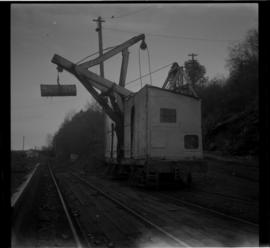
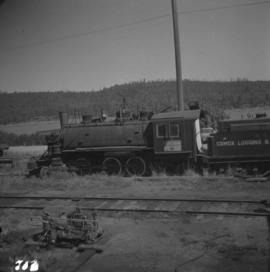
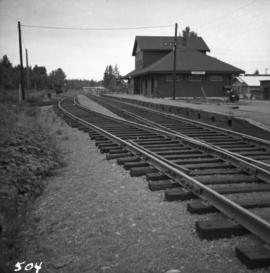
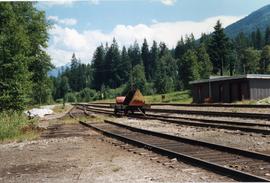
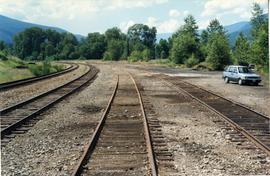
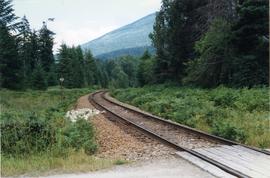
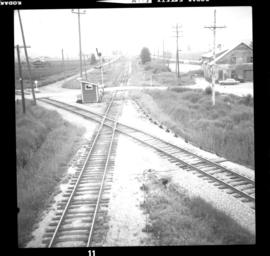
Apr. 1969
Part of David Davies Railway Collection
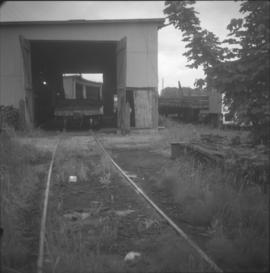
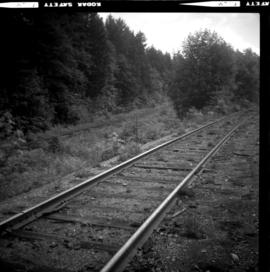
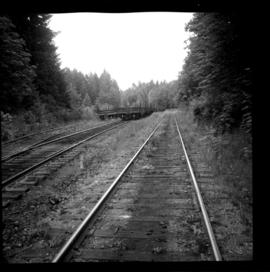
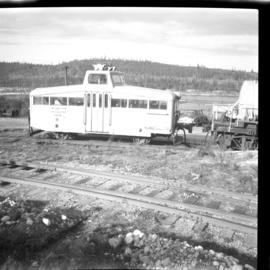
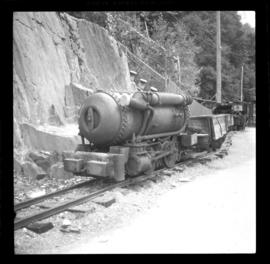
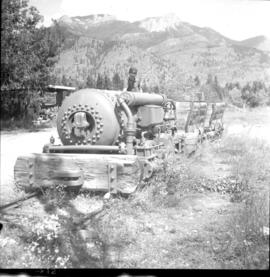
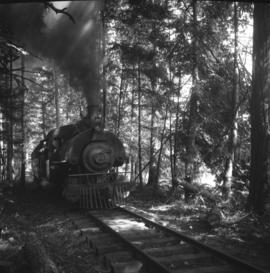
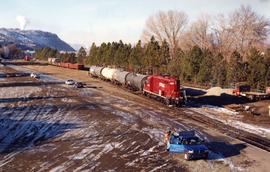
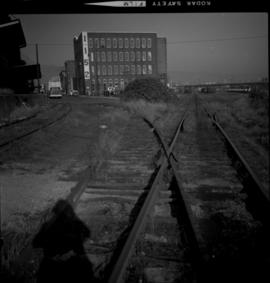
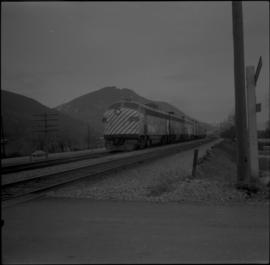
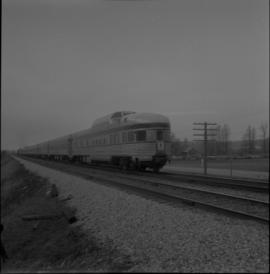
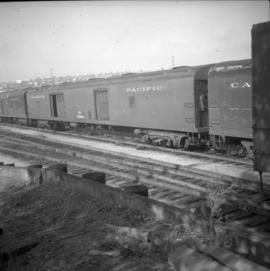
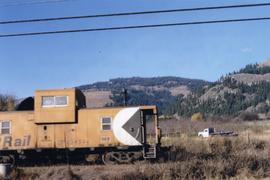
Photograph depicts a grand view of the Ladysmith yards. There had been no steam operations on this line for about 2 years.