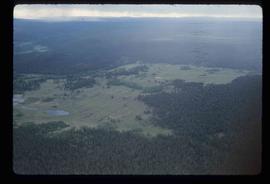
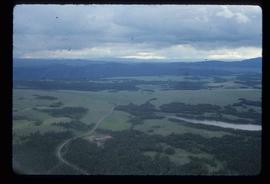
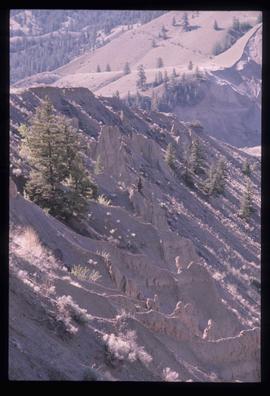
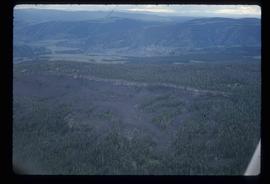
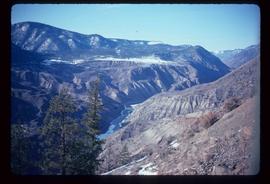
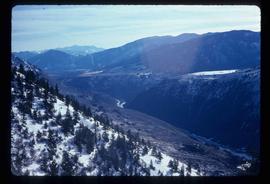
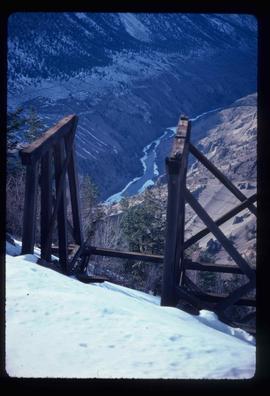
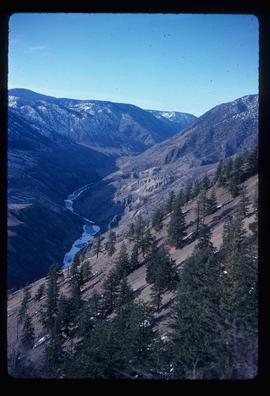
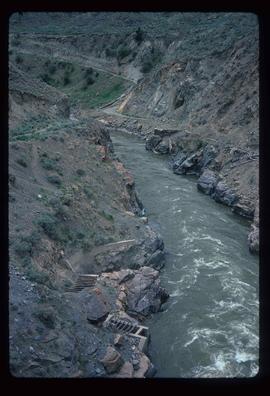
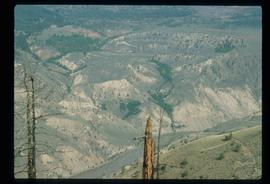
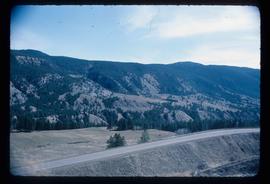
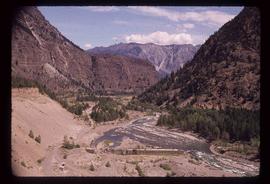
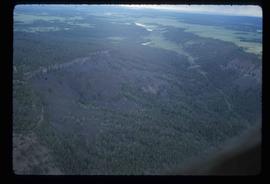
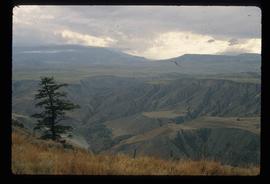
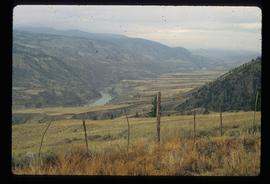
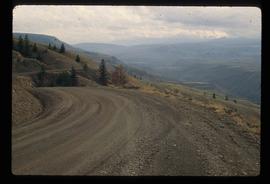
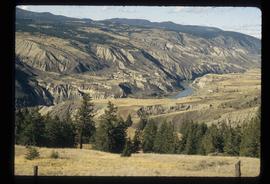
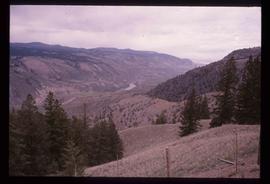
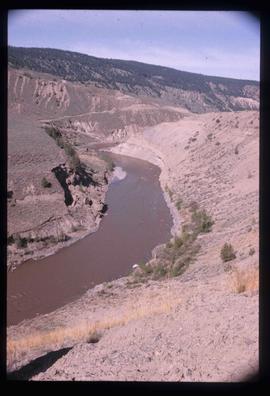
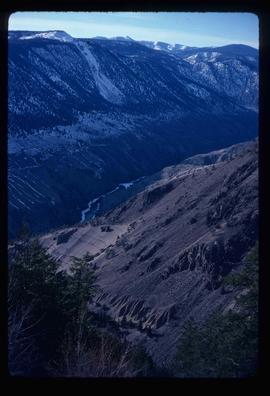
Image depicts the Fraser River running through the Moran Canyon near Lillooet, B.C.
Image depicts what is possibly the Fraser River running through the Moran Canyon near Lillooet, B.C.
Image depicts the Moran Canyon; the Fraser River is visible near the bottom.
Image depicts an aerial view of a stretch of road near the Fraser Bridge.
Image depicts the Fraser River near Lillooet, B.C.
Image depicts an aerial view of a plateau near the Fraser River.
Image depicts ridge-like rock formations at an uncertain location, though possibly somewhere near the Fraser River.
Image depicts an aerial view of a section of land, likely near the Fraser River, that is possibly either a slump or part of a mining operation. The slide is labelled "slump or mining."
Image depicts a view of the upper Fraser Canyon. The Fraser River is visible on the left side of the image.
Image depicts a view of the upper Fraser Canyon.
Image depicts the Fraser River passing through the upper Fraser Canyon.
Image depicts a view of the Upper Fraser Canyon. The Fraser River is visible.
Image depicts the Fraser River running through the Upper Fraser Canyon.