2012.13.1.57.01
·
Item
·
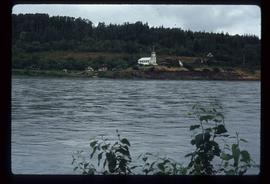
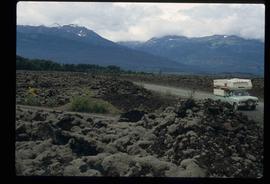
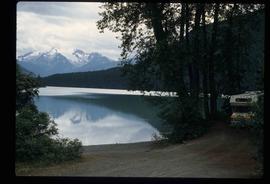
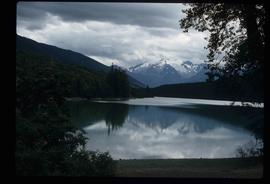
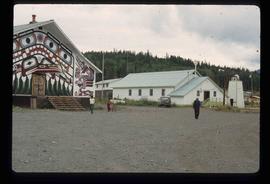
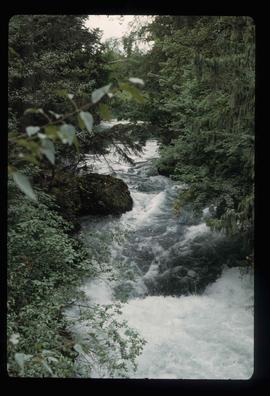
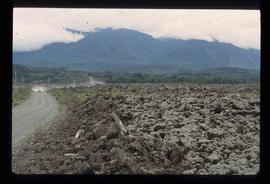
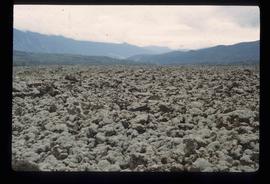
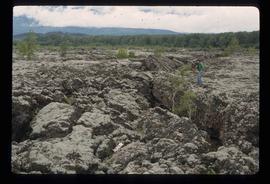
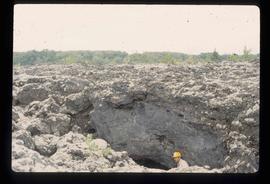
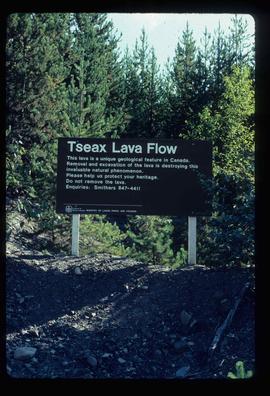
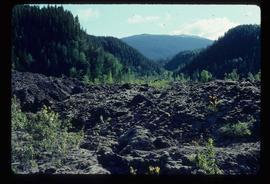
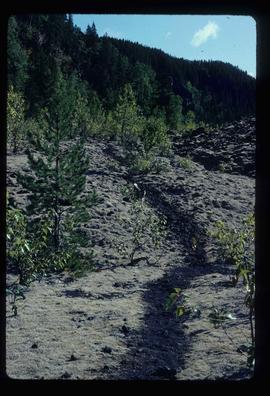
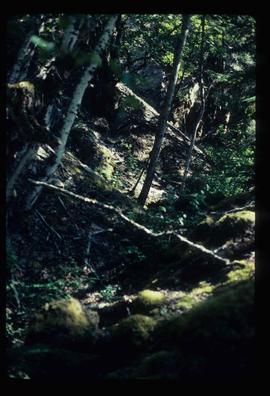
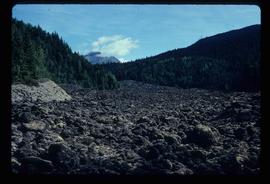
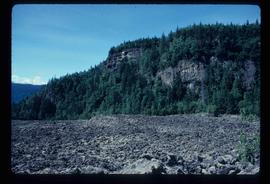
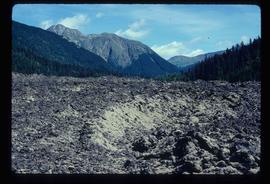
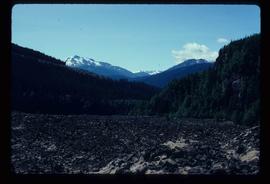
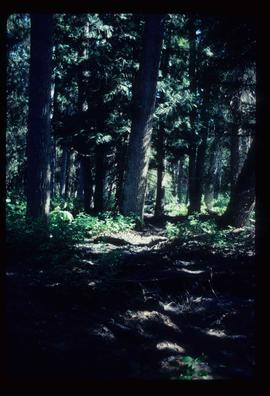
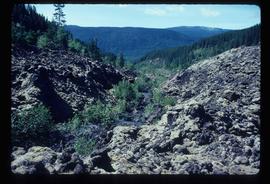
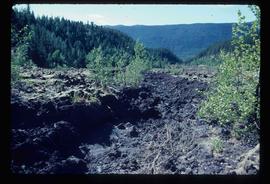
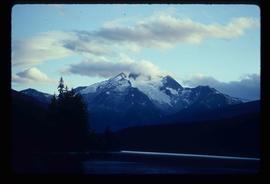
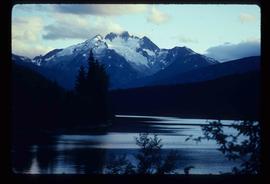
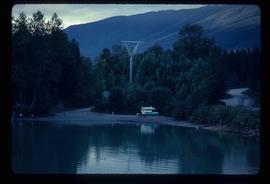
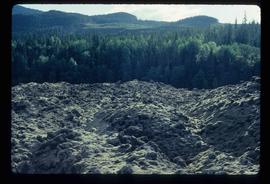
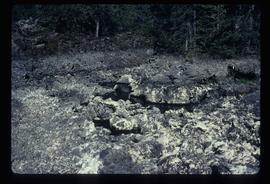
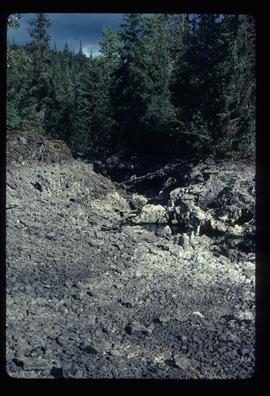
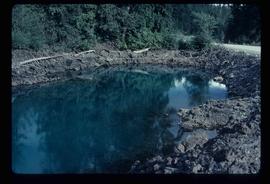
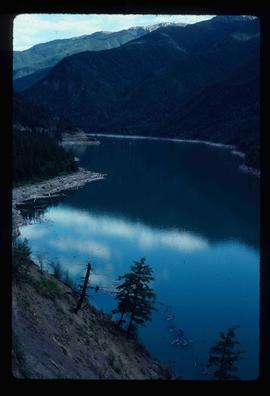
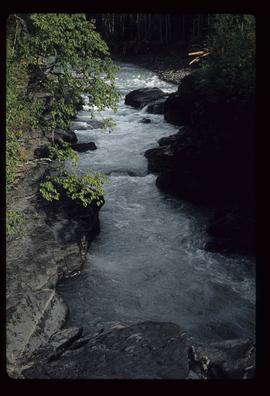
Aug. 1979
Part of J. Kent Sedgwick fonds
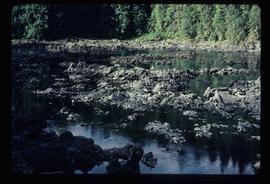
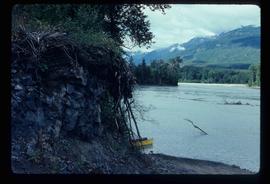
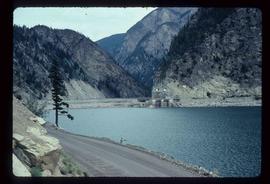
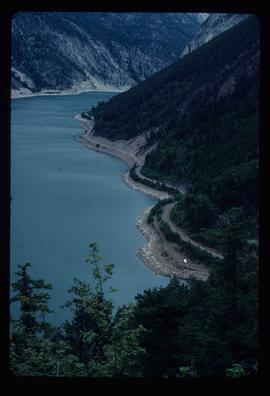
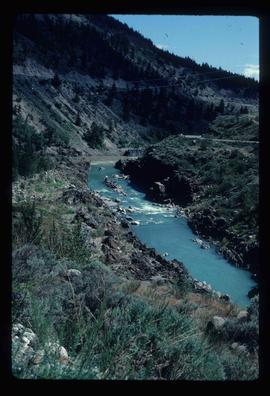
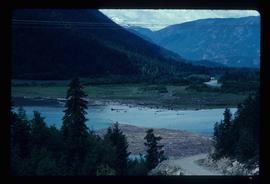
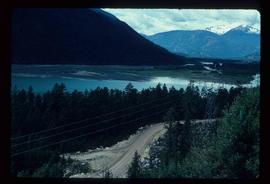
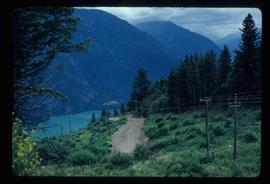
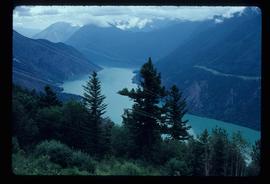
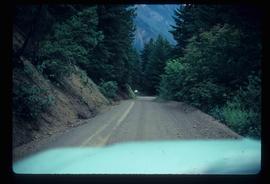
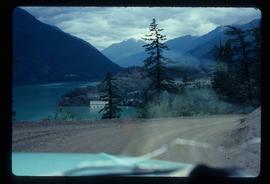
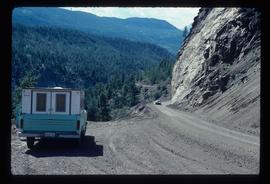
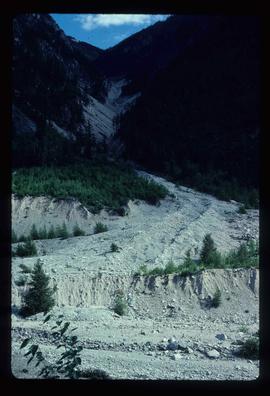
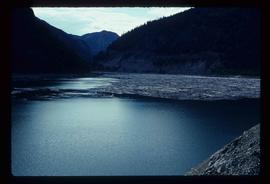
Image depicts the Kiteen River at Dragon Lake near Aiyansh, B.C.