2013.6.36.1.047.03
·
Item
·
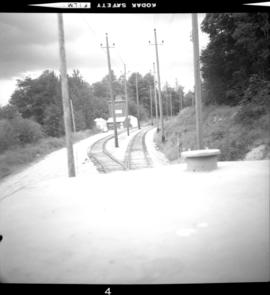
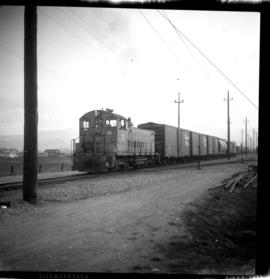
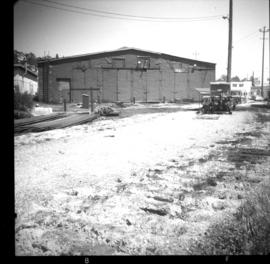
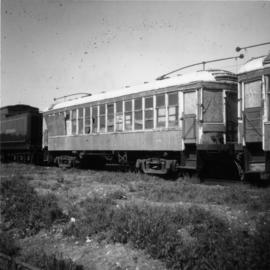
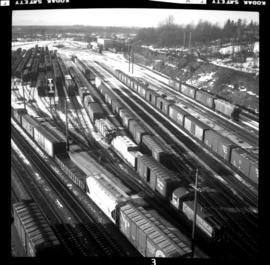
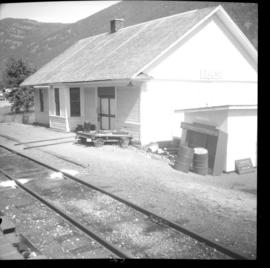
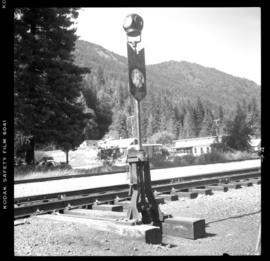
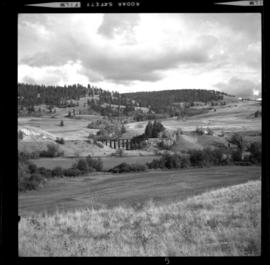
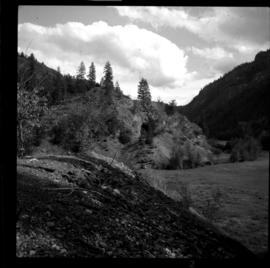
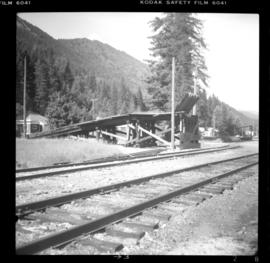
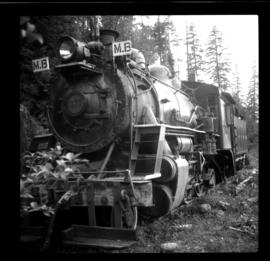
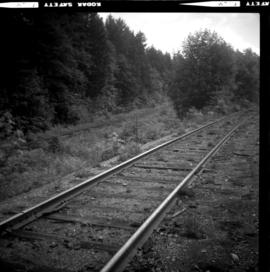
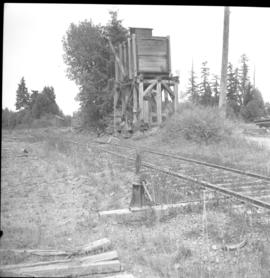
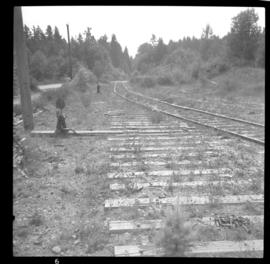
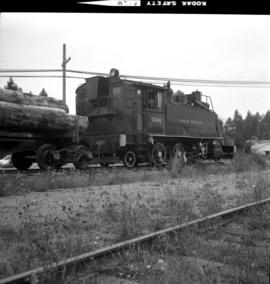
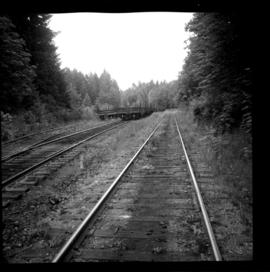
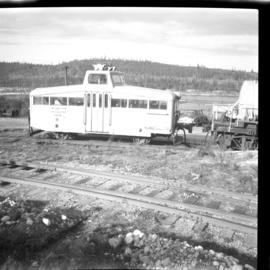
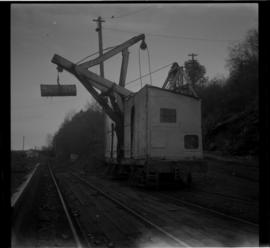
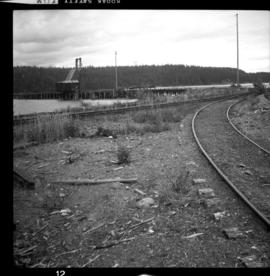
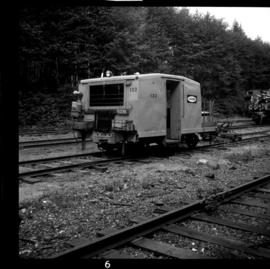
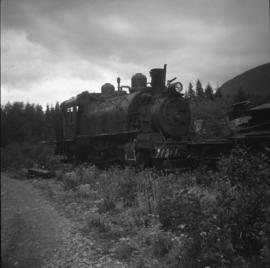
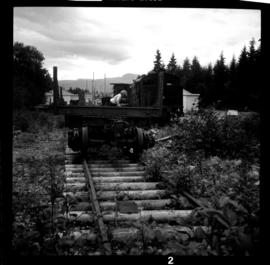
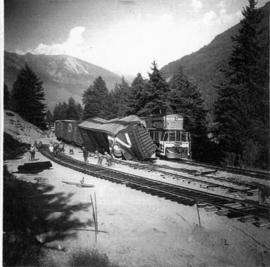
[7 Aug. 1969]
Parte de David Davies Railway Collection
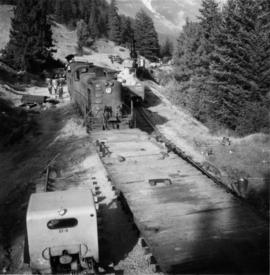
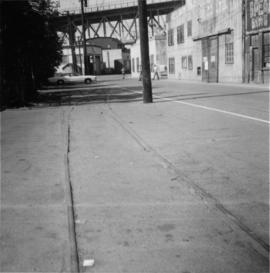
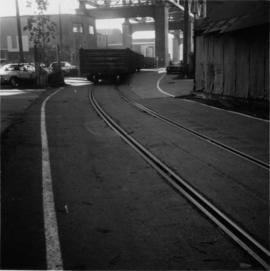
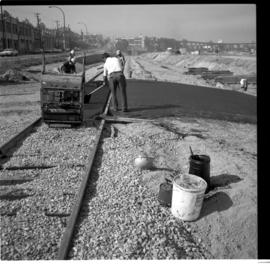
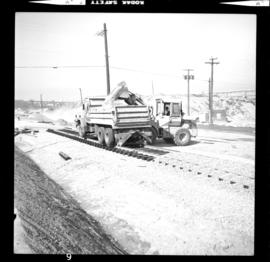
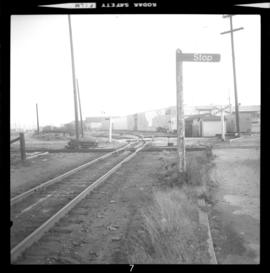
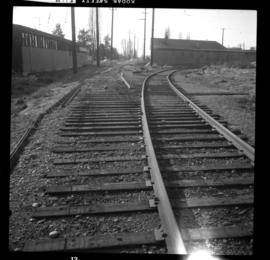
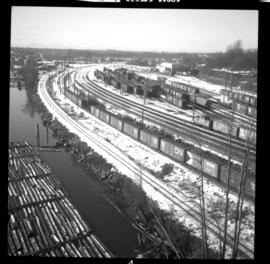
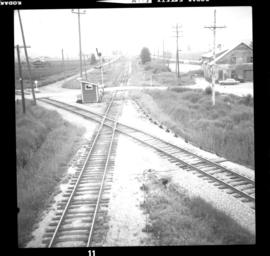
Photo depicts a derailment in Seton Portage at the Pacific Great Eastern broken switch on mile 139.8.